How To Pose For Pictures & Look Good: Easy Tips for Confident, Flattering Photos
Taking a great photo isn’t just about the camera or lighting, it’s about how you pose.
You can look better in every picture by standing up straight, pulling your shoulders back, and tucking your chin in slightly.
Simple changes like shifting your weight to one side, leaning forward a little, and creating space between your arms and your body can all make a big difference in how you appear.
You don’t need to be a professional model to enjoy pictures of yourself.
Small tricks, like bringing your ears forward or keeping your hands above your waist, help highlight your best features and add confidence to your pose.
If you’re ready to feel good when someone takes out a camera, these easy posing tips will help you look your best in any photo.
For more ideas, check out on How To Pose For Pictures And Look Good.
Understanding Photo Posing Basics

The basics of photo posing help you look comfortable and bring out your best features.
Learning how to pose can also make your photos feel more natural and less forced.
Why Posing Matters in Photos
Posing is important because it shapes how you look and feel in pictures.
The right pose can help you appear more confident and relaxed.
It also lets you highlight your best angles while hiding things you might feel less sure about.
When you think about how you stand, sit, or tilt your head, you gain control over your image.
Turning your body at a 45-degree angle instead of facing the camera straight on is a simple trick that can make a big difference, as shown in these posing tips.
In group shots, small changes can help you stand out.
For example, dropping your shoulders and gently pointing your toes towards the camera creates a more open, friendly vibe.
Common Mistakes to Avoid
It’s easy to make small posing mistakes that hurt your photo.
The most common problems are stiff arms, slouching, or pressing your arms too close to your sides.
These can make you look uncomfortable or even bigger than you are.
Another mistake is looking at the camera with a blank face.
Adding a slight smile helps your eyes look alive and your face seem warmer.
Tilting your head too much or standing straight at the camera can make you look unnatural or not as confident.
To avoid these problems, remember these tips:
- Relax your shoulders
- Keep your chin slightly down
- Angle your body a bit, not straight on Making small changes in how you pose can help you look more natural and less awkward in pictures. For more quick pointers, see posing techniques for portraits.
Posing vs. Being Photogenic
Being good at posing is not the same as being photogenic.
Posing is about learning how to move or stand, while being photogenic means you look good on camera even without much effort.
You can improve your photos with practice and know-how, even if you don’t think you’re naturally photogenic.
Many people who take great photos say they learned how to pose and practice until they felt more confident.
Learning what poses work for you is key.
A straight, square look is best for some people, while a slight turn works for others.
If you’re unsure where to start, use sample images as guides.
Over time, you’ll find your best side and style, no matter how you feel about being photogenic.
Preparing Yourself for the Camera
Getting ready for photos means more than just standing in front of the lens.
What you wear, how you care for yourself, and your mindset can all affect how you look and feel in pictures.
Choosing the Right Outfit
Pick clothes that fit well and make you feel comfortable.
Tight or very loose clothing can make it hard to pose naturally.
Solid colors work well because they keep the focus on your face.
If you like prints, small patterns are best because large designs can be distracting.
Think about your background and choose colors that don’t blend in too much or clash.
For group pictures, coordinate colors for a balanced look but avoid being overly matched.
Outfit Checklist:
- Clean and wrinkle-free clothes
- Avoid too much shine or sparkle
- Choose layers for variety
- Wear shoes that match the outfit
Accessories can add interest, but try not to overdo it.
One or two pieces like a favorite necklace or watch are usually enough.
Grooming and Personal Care Tips
Cleanliness is important before taking pictures.
Wash your face and use a gentle moisturizer to keep skin looking fresh.
If you wear makeup, keep it simple and natural so you still look like yourself.
Powder works well for removing shine on the face.
Style your hair in a way you know works for you.
Use a brush to get rid of any tangles and keep flyaways in place with a little water or hair product.
Double-check your nails and teeth to make sure they are clean.
Quick Grooming Tips:
- Lip balm for dry lips
- Check for makeup smudges
- Use deodorant to stay fresh
- Bring a comb or small brush
Looking neat and tidy helps you feel confident and ready for the camera.
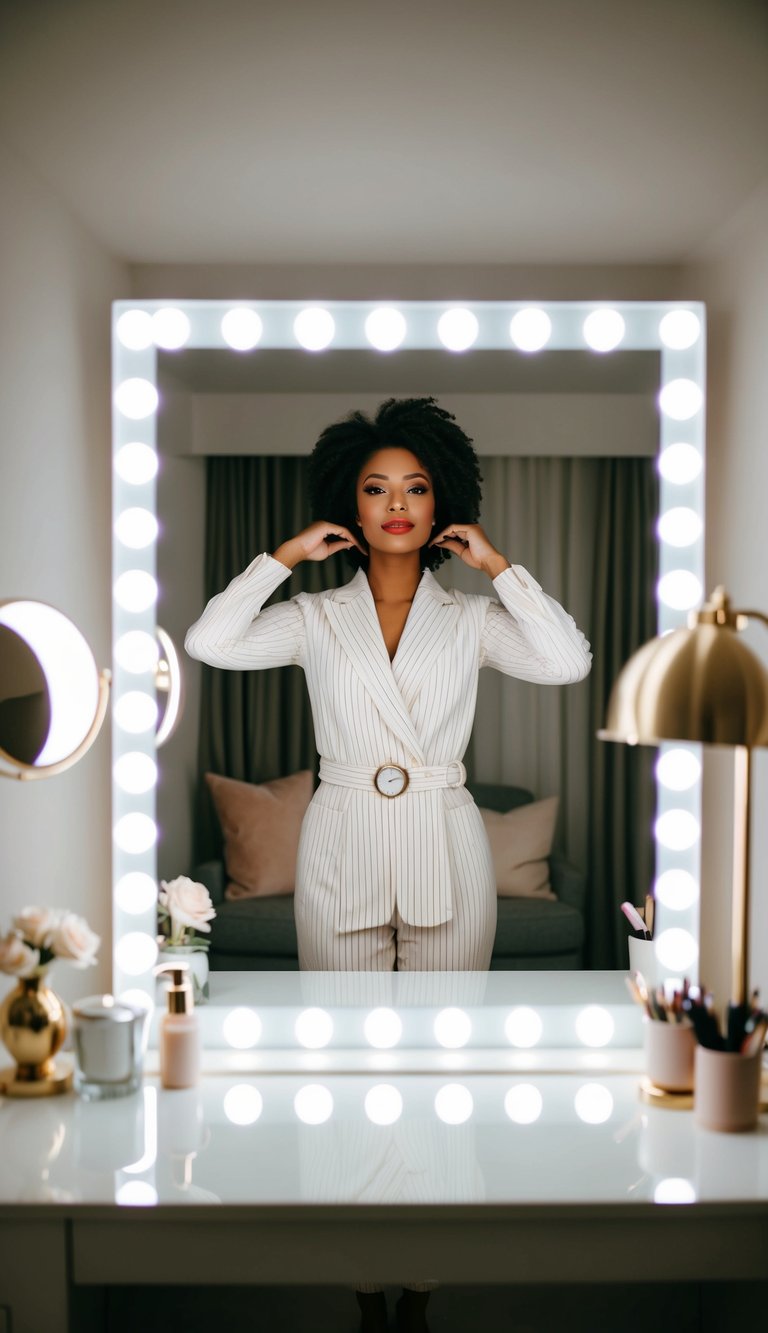
Boosting Confidence Before a Shoot
Feeling good on camera starts in your mind.
Practice some poses in the mirror to see what works for you.
Take slow, deep breaths to help relax before the photos start.
Try thinking of something funny to feel more natural or even laugh a little; a real smile makes you look relaxed and friendly in photos, as suggested by posing tips from Mixbook.
Stand tall and keep your posture straight, but don’t be stiff.
If you need a boost, listen to your favorite song or talk to a friend for encouragement.
Ways to Build Confidence:
- Practice your favorite pose
- Focus on positive thoughts
- Remember, nobody is perfect in every photo
Mastering Face and Expressions
Small changes in how you move your face or look at the camera can make a big difference in photos.
Learning to use your smile, eyes, and other expressions will help you look your best.
Enhancing Your Smile Naturally
A genuine smile makes you look more relaxed and friendly.
To avoid a forced look, think of something that actually makes you happy.
If you have trouble, press your tongue lightly against the roof of your mouth as you smile.
This helps your jawline and gives a natural shape to your lips.
You can practice in front of a mirror to find your best angle.
Try opening your mouth a little when you smile to keep it looking relaxed.
If you want, gently squint your eyes for a “Duchenne smile,” which experts link to real happiness.
You can find more advice on facial expressions in photos.
Making Your Eyes Stand Out
Your eyes can show emotion and add life to your pictures.
To make your eyes stand out, look slightly above the camera lens instead of straight at it.
This creates a more open and awake look.
You can also try the “squinch,” which means lifting your lower lids just a bit while keeping the top lids relaxed.
This often makes your gaze seem more confident and less surprised.
Use a bit of light reflection, like standing near a window, to give your eyes a bit of sparkle.
If you wear glasses, tilt your head slightly to avoid glare.
Playing with Different Facial Expressions
Changing your facial expressions gives you a range of looks for different kinds of photos.
Try raising your eyebrows for a curious look, or tilt your head a little to seem more thoughtful.
Move your lips from a soft smile to a broader one and notice how it changes your face.
It helps to practice a few expressions in the mirror.
For something playful, puff out your cheeks or stick out your tongue a tiny bit.
If you want to look serious, relax your face and close your lips gently.
Watching how models pose can offer more ideas, as explained in this guide on modeling facial expressions.
Finding Your Best Angles
Everyone has certain angles that can help them look their best in photos.
Learning how to use these angles will make you feel more confident and happy with your pictures.
How to Discover Your Flattering Side
To find your best angle, start by standing in front of a mirror or setting up your phone camera.
Turn your face and body slowly from left to right and pay attention to which angles look best.
Most people have one side of their face that photographs better than the other.
The “Universally Flattering Angle” suggests turning your body about 45 degrees away from the camera.
This position can add a slimming effect and make your pose look more natural.
You can test this by snapping a few photos from different angles and comparing them.
Try using the “clock method” for your face.
Imagine your nose as the center of a clock and tilt your head slightly to each hour mark.
This will help you see which head angles highlight your best features.
You can read more about these tips at the Art of Being Photographed or through exercises like the clock method.
Head Tilts and Chin Positioning
Adjusting your head and chin is one of the simplest ways to improve a photo.
Lower your chin just a little so it doesn’t get lost in the shot or create a double chin.
But don’t tuck it in too far, or your posture may look awkward.
Tilting your head to one side or slightly forward can make your neck look longer and give your jawline more definition.
This works well for both selfies and group photos.
Keep your chin out and down, which helps highlight your face without making your features look flat.
If you’re not sure how much to move, practice in front of a mirror.
Minor changes to the angle of your chin and head can have a big impact.
Take a few test pictures to see what feels most comfortable for you.
Adapting Angles for Different Camera Types
The type of camera you use can affect which angles look best. Smartphone cameras are usually held at arm’s length, so lifting the camera just above your eye level and angling it downward helps to minimize shadows and avoid distortion.
DSLRs or professional cameras might sit on a tripod. Try stepping to the side or raising your chin for balance.
For webcams, stack books under your laptop to raise it to eye level. This prevents the camera from shooting up at your face, which can be unflattering.
Different lenses create different effects. Wide-angle lenses can stretch your features if you get too close.
Stick to angles that keep your features looking natural. Adjust to the camera type to capture your best look, as explained in guides like How to Find Your Angles Step by Step.
Posing Your Body with Confidence
Feeling comfortable in your body is the first step to looking your best in pictures. Paying attention to how you stand, sit, and move your hands will make you look more natural and confident in every shot.
Standing and Sitting Postures
When standing, keep your weight on one leg and let the other leg bend a bit. This shift creates a softer, more relaxed outline.
Turn your shoulders slightly so you are not facing the camera straight-on. A slight angle makes your shape look more interesting in photos.
For sitting, choose a seat that lets you sit tall. Sit near the edge of the chair, keeping your back straight and your shoulders back.
Cross your ankles instead of your knees to help elongate your legs. Small changes in posture can make a big difference.
For more tips, check out these classic posing ideas.
Table: Quick Posture Tips
| Action | Effect |
|---|---|
| Weight on one leg | Softer, balanced shape |
| Slight shoulder turn | More natural look |
| Sit at edge of chair | Straight back, confidence |
Using Your Hands Gracefully
Awkward hands often stand out in photos. Keep your hands slightly bent and relaxed.
Try putting a hand in your pocket or gently touching your hair or face. If you are sitting, rest a hand on your lap or arm of the chair.
Avoid pressing your arms flat against your body. Let a little space show between your arm and your side.
A soft, open hand looks calmer than a clenched fist. If you are holding something, grip it lightly and avoid covering your face.
List: Where to Put Your Hands
- In a pocket or belt loop
- Lightly on your hip or waist
- Gently touching hair or chin
- Resting in your lap if sitting
Creating a Relaxed and Natural Look
Take slow, deep breaths and let your shoulders relax. Try moving a bit between shots—shift your feet, tilt your head, or change your angle.
Keeping still can make you look stiff. Let your expression match the mood you want to show.
A real smile or a soft, gentle look works well. Picture yourself with a friend to help feel comfortable.
Picking three words for the vibe you want can boost your confidence, as suggested by experts on posing with confidence.
Creative Posing Ideas and Inspiration
Trying out new pose ideas can help make your pictures stand out. You can use movement, props, and playful actions to bring personality to your photos.
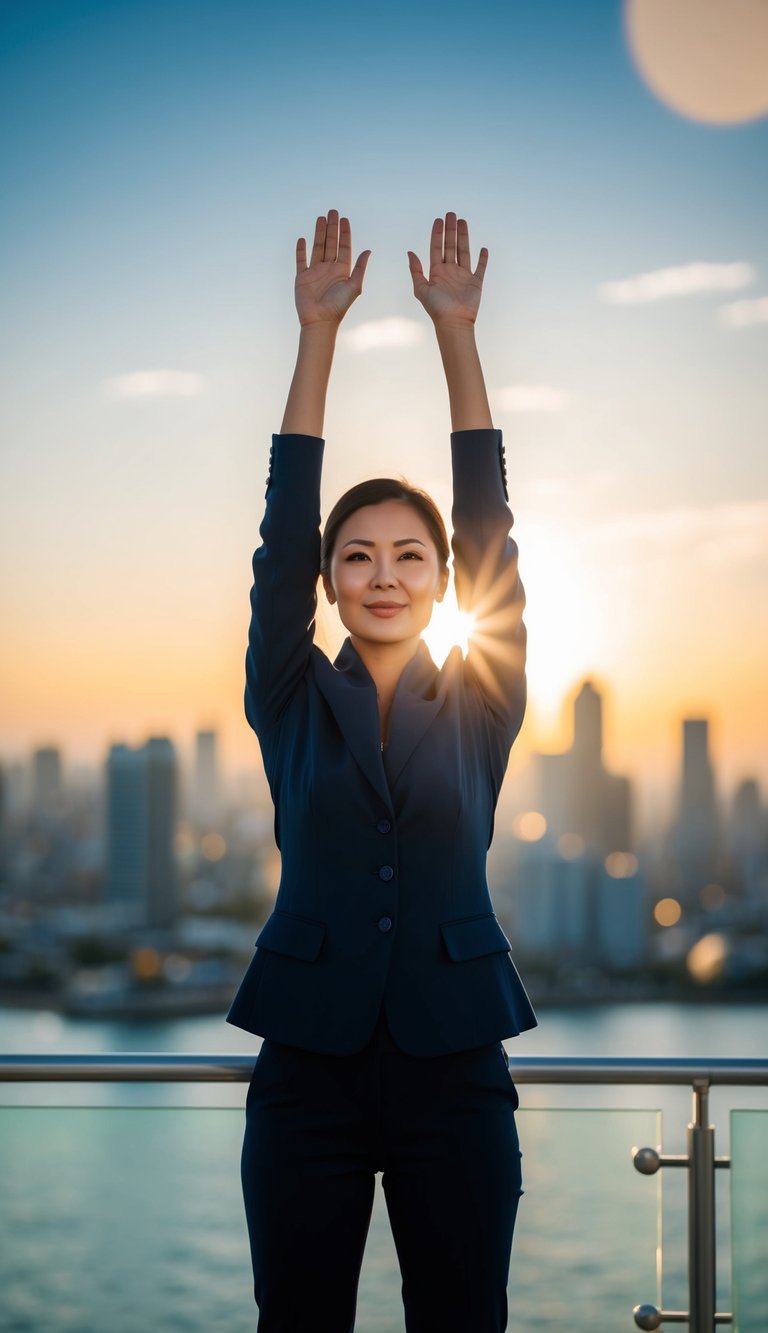
Dynamic Poses for Full-Body Shots
Show energy in your pictures by moving around instead of standing still. Try walking slowly toward the camera or shifting your weight from one foot to the other.
If you want to appear taller, stand at a slight angle and point one foot toward the camera. Place a hand on your hip or reach up as if you’re fixing your hair.
You can also walk and look back over your shoulder for a bit of drama. This is a popular tip from posing guides such as those found on Pinterest posing boards.
Using nearby objects, like leaning against a wall or sitting on steps, adds interest. Bending one knee or crossing your legs when standing makes your body shape look more defined.
Fun and Candid Posing Suggestions
Capture genuine expressions with playful or candid poses. Try laughing loudly, spinning around, or jumping in place.
These actions help you forget about the camera and capture real emotion. If you’re with friends, try acting out a silly scenario together.
Walk hand in hand, or pretend to whisper secrets. Movements like tossing your hair or reaching out for something make for natural pictures.
Candid photos work well when you use props such as hats, books, or coffee cups. These items give you something to do with your hands, which keeps your pose relaxed and natural.
Building a “mood board” with favorite pose ideas can help spark ideas before your next shoot.
Using Props and Environments Effectively
Props and backgrounds can make your photos more interesting and help you look more relaxed in front of the camera. Picking the right items and locations can give your pictures extra personality and tell your story better.
Incorporating Everyday Props
Using props helps you feel less awkward while posing. Everyday items like hats, books, sunglasses, or a cup of coffee can give your hands something to do and make you look more natural.
Try to choose props that fit the mood of your photo. Sports equipment, such as a basketball or tennis racket, shows your interests.
Balloons or flowers add pops of color and can make pictures playful or cheerful. Don’t overload the shot—one or two well-chosen props are best.
Hold the prop close to your face or body so it becomes part of your pose, not just something in your hands. If you want more ideas, check out these tips for using props in portraits.
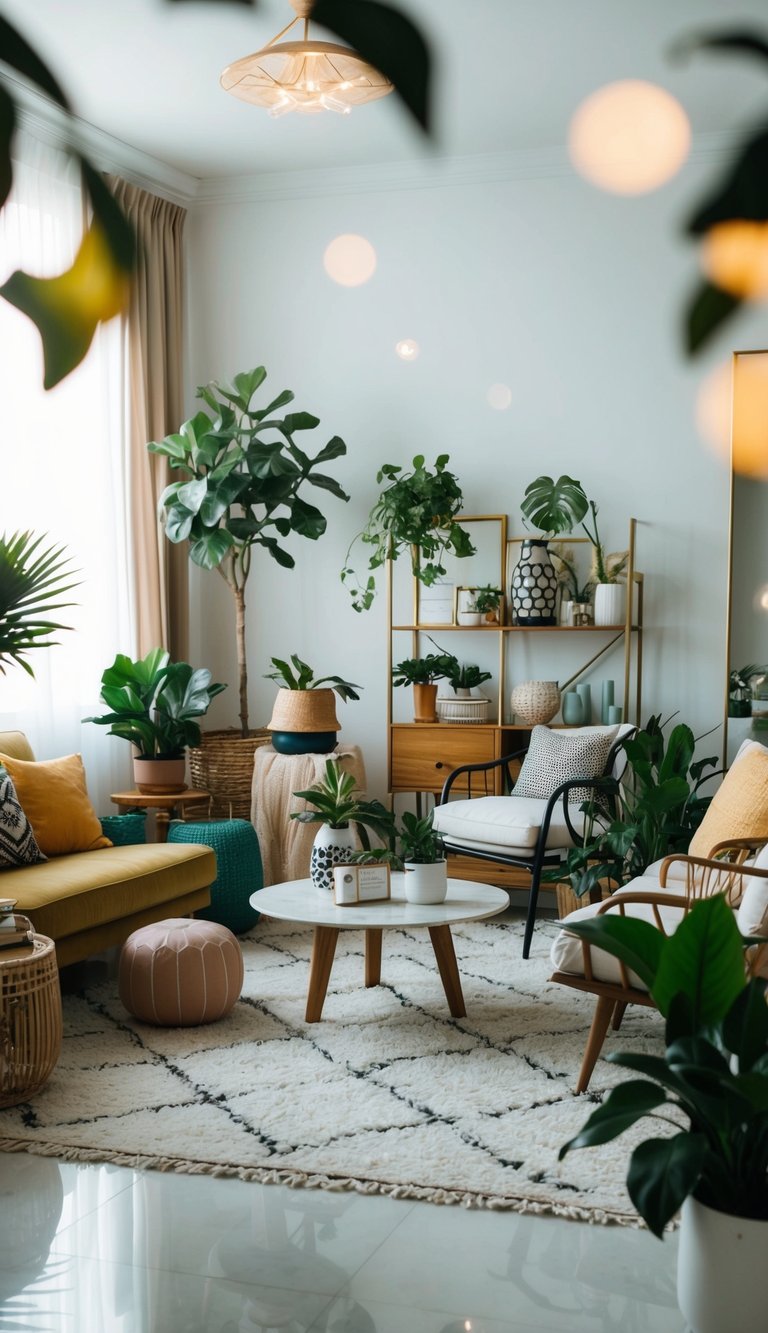
Choosing the Best Backgrounds
The background sets the scene for your photo. A clear, simple space keeps the focus on you, while busy or colorful places create a fun atmosphere.
Solid colored walls or clean, neat rooms work well if you want calm and balance. Outdoor spaces like parks, brick walls, or city streets give a natural feel.
Look for backdrops that match the style of your outfit and props so everything fits together. Try not to stand right against the background.
Leaving a little space adds depth and keeps you from fading into it. To learn more about balancing props and surroundings, read about choosing photo backdrops.
Lighting and Composition Tips
Good lighting and smart composition can quickly improve how you look in photos. Knowing how to use sunlight and arrange the elements in a picture makes every portrait look more polished and visually appealing.
Making the Most of Natural Light
Natural light is one of the easiest ways to get flattering photos. Soft, even sunlight, like what you find early in the morning or late in the afternoon, often called “golden hour,” helps avoid harsh shadows and gives your skin a healthy glow.
If you are outside, try standing with the sun slightly to your side or behind you. This setup prevents squinting and stops harsh lines from appearing on your face.
If it’s too sunny, you can also step into the shade for more even light. When indoors, pose near a window for a soft, diffused effect.
Avoid having bright lights directly above or below your face because that can cause unflattering shadows.
Use this quick reference when working with light:
| Light Source | Effect on Photos |
|---|---|
| Golden hour | Warm, even glow |
| Bright midday sun | Harsh, strong shadows |
| Shade/Cloudy day | Soft, flattering shadows |
| Window light | Gentle, even illumination |
Using the right light creates a natural, polished look and makes skin appear smoother. For more tips, check out how the right light can make you look good in portraits on Formed From Light.
Understanding Composition Basics
Composition is how you arrange yourself and other things in the photo. One simple rule you can use is the “rule of thirds.”
Imagine your camera screen split into a grid with two vertical and two horizontal lines. Try to place your eyes or face along one of these lines, not right in the center.
You can also use leading lines, such as fences or paths, to guide attention toward you in the picture. Be aware of what’s in the background to keep it neat and avoid distractions.
Posing at a slight angle instead of facing the camera head-on can also help add interest and make you look slimmer. Many photographers recommend turning your body about 45 degrees, which is an easy trick to try for better pictures.
Learn more about posing techniques at How to Pose: 7 Simple Ways to Look Better in Photos.
Key tips to remember:
- Use the rule of thirds grid
- Find clean and simple backgrounds
- Angle your body for a more dynamic look
Practicing and Refining Your Posing Skills
Building your posing skills takes regular practice, both when taking your own photos and when working with others. You will notice improvements over time as you gain confidence and learn what angles and expressions work best for you.
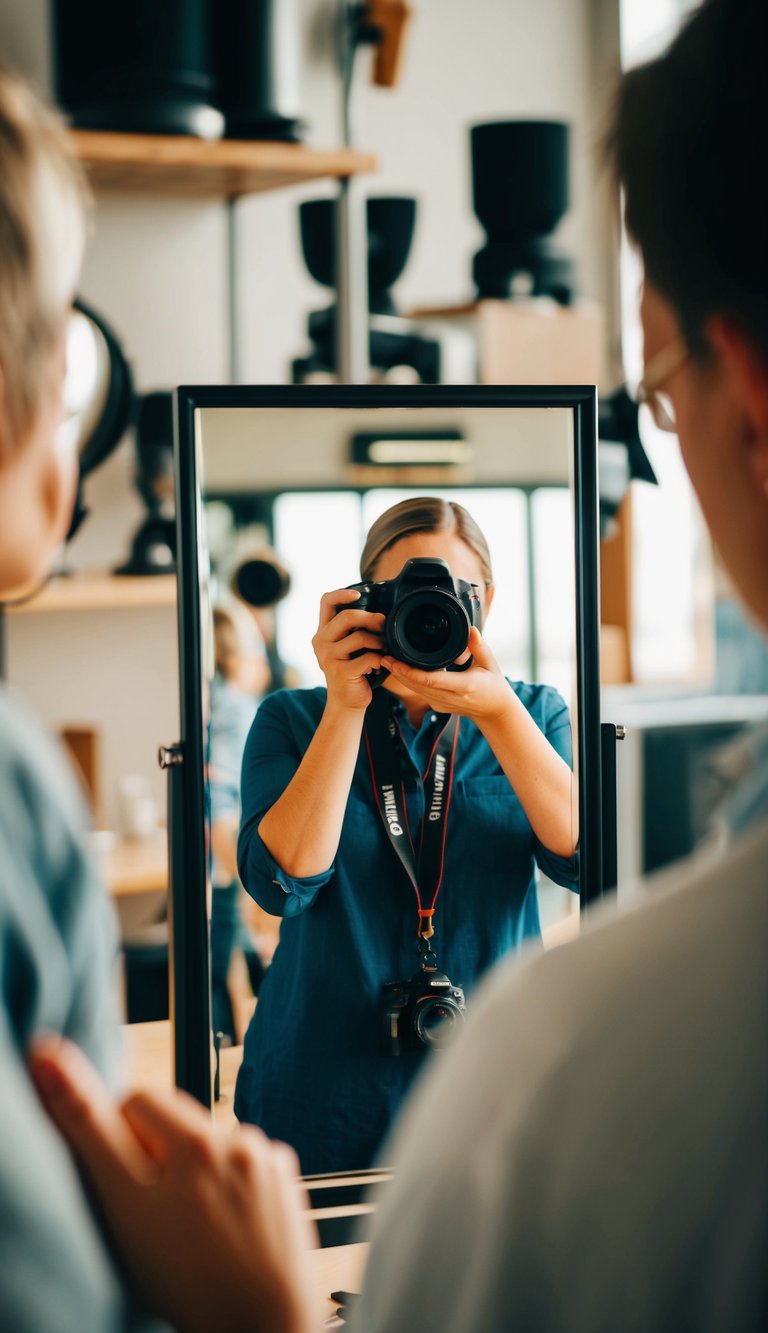
Selfies Versus Professional Photos
When you take selfies, you control how you look and which poses to try. Try using your phone’s timer so you have both hands free.
Experiment with different angles. Tilt your head, turn your body, or hold the camera a little above eye level to see the difference.
Practice good posture by standing tall and pulling your shoulders back. Lighting matters a lot when taking selfies.
Face toward a window or any soft, natural light for clear, flattering pictures. You can also practice in low or artificial light to get comfortable with different settings.
In professional photo shoots, a photographer may guide your pose or suggest changes to help you look your best. You may be asked to turn your body at a 45-degree angle or place one foot ahead of the other for a more flattering look.
You can learn more about posing tips for photo sessions at this helpful photoshoot poses guide.
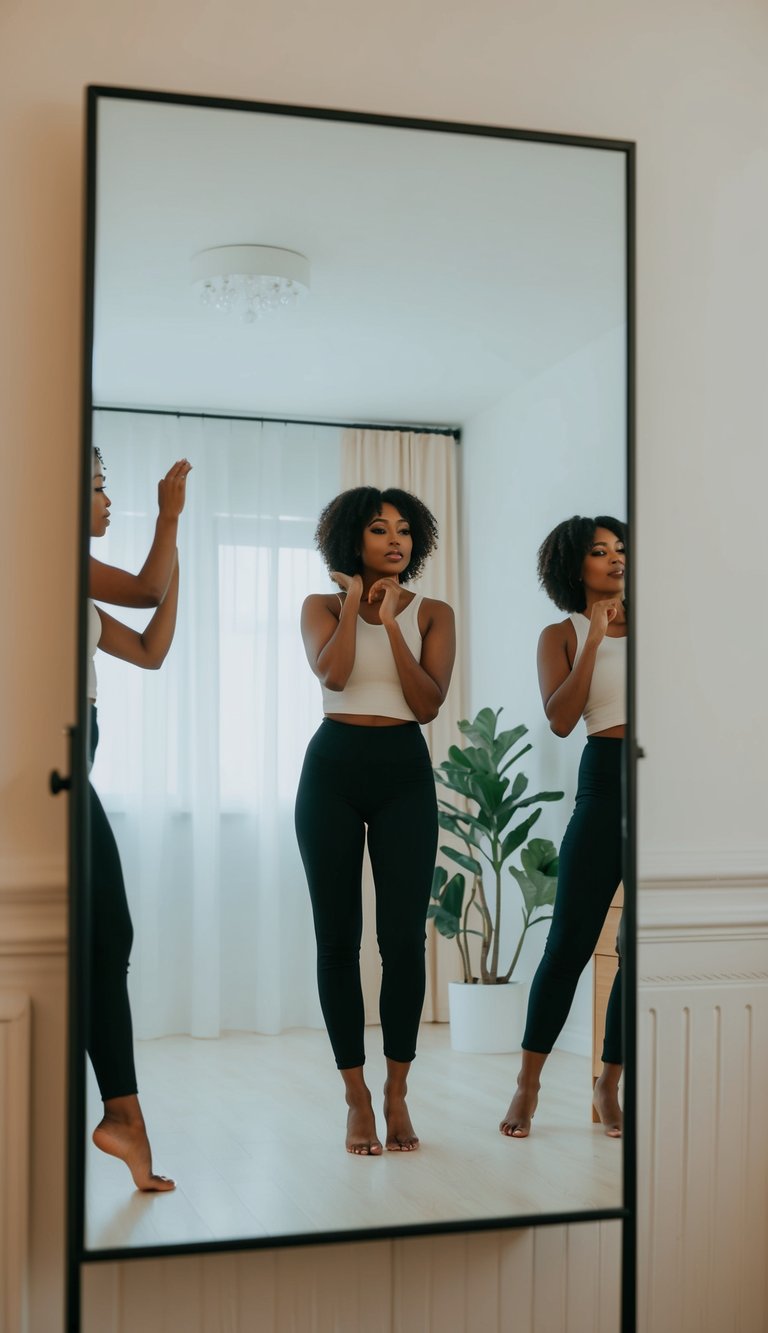
Practicing in Front of a Mirror
Using a mirror is a simple way to improve your poses. You can see what each angle looks like and make adjustments right away.
Stand in front of the mirror and try different poses. Start with your shoulders back and chin slightly down to avoid a double chin.
Try placing your hands in different positions, such as on your hips, relaxed by your side, or gently touching your neck. Move your feet into various stances.
Notice which positions make you look more relaxed and confident. Use the mirror to watch your expressions too.
Practice smiling naturally or using other facial expressions. Make a list of poses that work well and review them before a photo session.